They say when you are a hammer, all the world is a nail: when you’re a welder, everything metal is a potential work-in-progress. However studio time is all too short and full of all manners of tempting distractions, so I try to stay focused on what I love to do – making the friendly robots. After my fifth Dionysus-class Astrobot I realized I was spending way too much of my precious time bending little snippets of bicycle spokes by hand, and it was time to set some of that precious studio time aside to make a custom specialized tool.

Each Dionysus-class Astrobot require at least twenty u-shaped pieces of bicycle spokes to create the loose joints that allow them to sit around and be the lazy robots they were meant to be. Without a specialized tool I was using pliers, a vise and a small sledgehammer to make each one of them. They were challenging to get them the correct shape, and hard on the hands. Stainless steel is pretty hard to bend, which is a positive trait once the piece is complete, but a negative one when trying to force it to do your will.

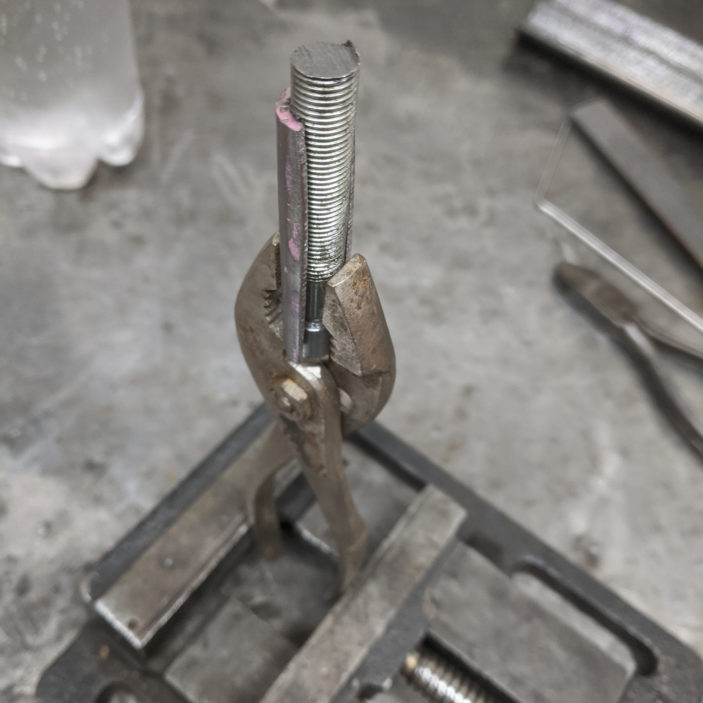
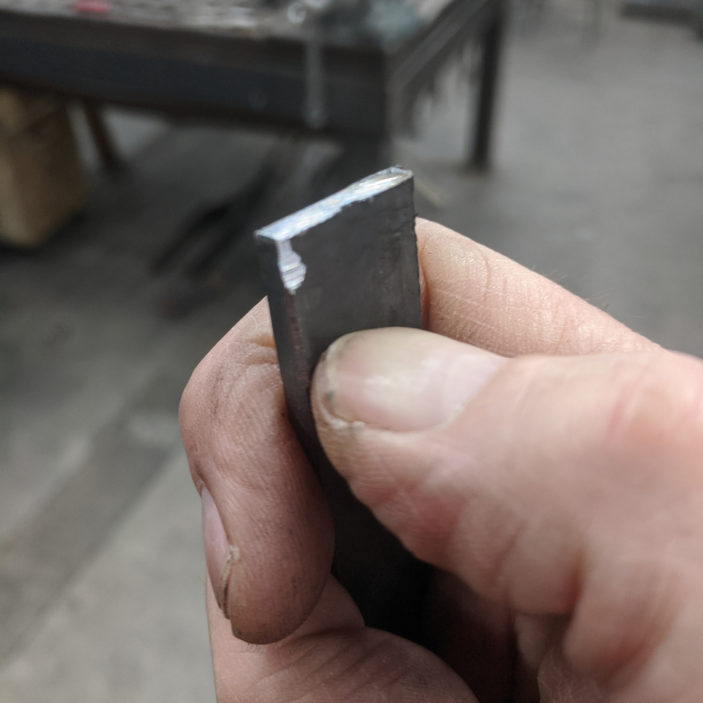
I needed a rod for the die, a u-shaped cradle to crimp the wire, and a pair of sacrificial pliers for the leverage. I know enough about bicycles to know that tapered chainstays and seatstays are swaged, which means they get thicker as they get narrower near the dropout. This means I could use a specific section of the tube to get the perfect inside radius, and the steel would be thick enough to withstand use over time. I used an axle for the inside rod, and a bench grinder and hand file to make the groove for the spoke to lay in, so it wouldn’t slip in the pliers as it began to crimp the spoke into a bend. This pair of pliers were intended to be a pair of wings for a future Astrobot, strangely enough they came full-circle and became a tool again.

Clamping everything together was simple enough, as the tool was meant to clamp in the first place. I left the crimping pieces long so I had plenty to work with. I tacked the pieces into place and gave it a first try.

The initial result was promising, but I needed the wire to bend a full 180 degrees, so a wall needed to be added to complete the bend.

I found some steel plate in the scrap bin that was just the right thickness. A hacksaw and a file was all that was needed to make the additional pieces.

Some additional tacking and I had a mark 2 prototype.

The second bend was close enough for me to finish the bend by turning the spoke 90 degrees and using the outer edge of the pliers to complete the bend.

Some reinforcing wings were added to keep the walls from splaying outwards, as the stainless spokes will put the tool under significant pressure, and I didn’t want to wear out the tool with use. Feeling more confident with the design, I trimmed the end of the tool down.

Here’s the spoke after the second part of the process. It’s close to ideal for what I’m using it for.

I really lucked out by choosing a pair of pliers that had a wider jaw setting, which allowed room for the die without having to grind away part of the jaw, which would have made the tool weaker. However, I needed to lock out the narrower pliers setting: note the two tiny weld beads that were added to the bolt-hole, to restrict the bolt.

The tool in it’s current form, fully welded and deburred. I also filed out a little place for the spoke to nest into for the second part of the bend.

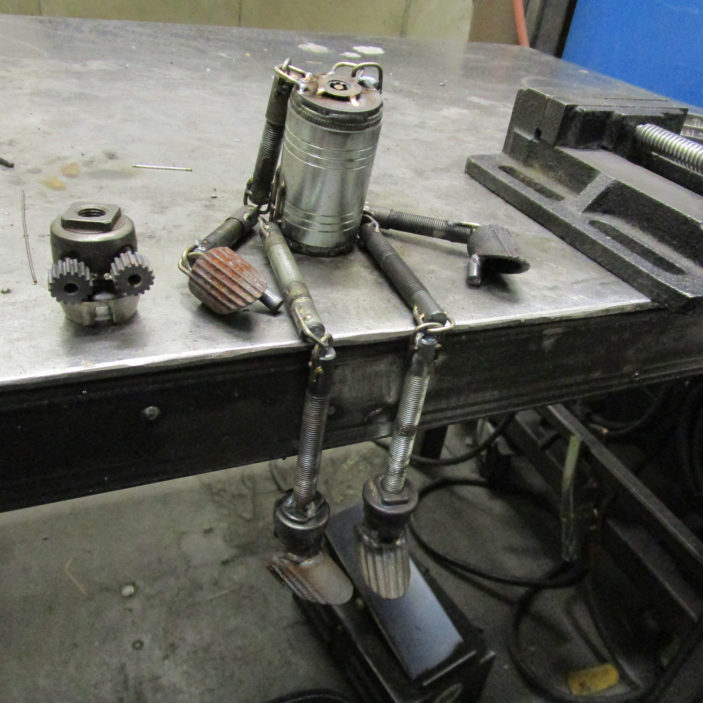
Here’s an example of the u-joint, welded onto a forearm of the Astrobot. Two of these parts link together like a chain, creating a simple loose joint.

Here’s a picture of Eileen the day she was born, even before she was clear-coated in polyurethane. While the joints on her are hand-made, you can see what a benefit having a tool will be when creating more of her kind.
There’s precious little space in my portable toolbox. I keep only what I need in it, and keep the very best version I own of each type of tool that I use. Sometimes I like to show off a tool I have to another maker. Often they are old, well crafted and designed, or they have a specific purpose that is interesting and useful. I wonder if someone would think when saw this homemade tool without explanation: would they figure out what it’s for and why it was made? The more I think about the tool I made, the more I think about each tool that I already have – the necessity for the tool, the design, the testing, and the refining. Each time I create something I’ve never made before, I have a wider scope of understanding and appreciation for similar human-made objects around me.
To do is to know.