I’ve been spending the last few months working on a 60-inch model of a Rocketship named the SRS Imagination, although the project was actually started years ago. Please check out chapters one, two, and three to read about the whole process from the start.
The Control Panel
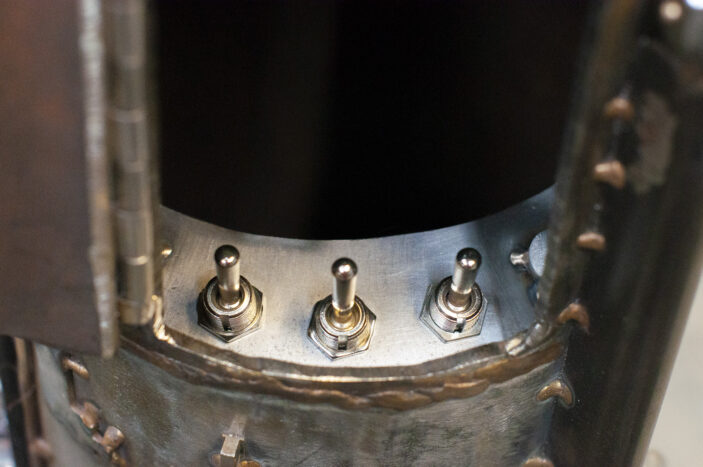
Like many people, I take pleasure in tactile mechanical switches, and this rocketship wouldn’t be complete without them. I cut a piece of steel plate to fit inside the fuselage, which will be accessible from the hatch. It’s reminiscent of the pilot’s command module, shown in detail in previous posts.
I needed to design the switches so that they can be operated comfortably in a tight space. Each switch has three positions. The switch on the left will control the interior lights, the one on the right will control the exterior lights, and the one in the middle will allow the operator to choose between AC and battery power.
The control panel is welded to the inside of the rocketship’s fuselage, which means I need to make sure there’s enough room for the command module to be installed. Like all ship-in-a-bottle projects, it’s a tight fit!
The Battery Harness
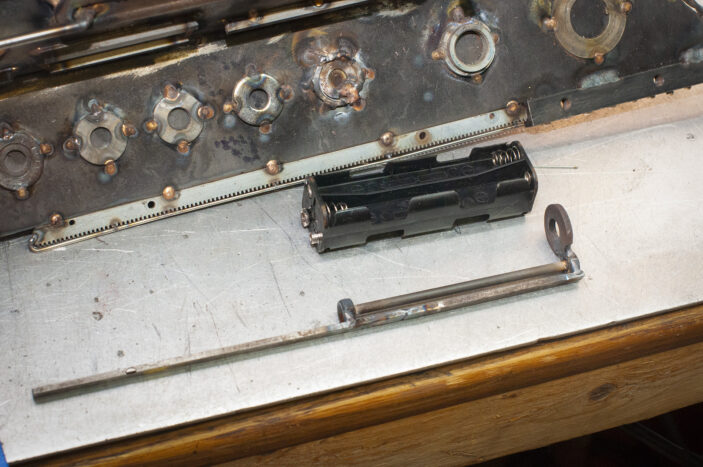
The battery pack needs to have enough power so that the LEDs will last a long time. I decided to go with twelve volts using eight AA batteries. I wanted the harness to be accessible without being prominently visible, so I chose to mount it to the left and below the hatch.
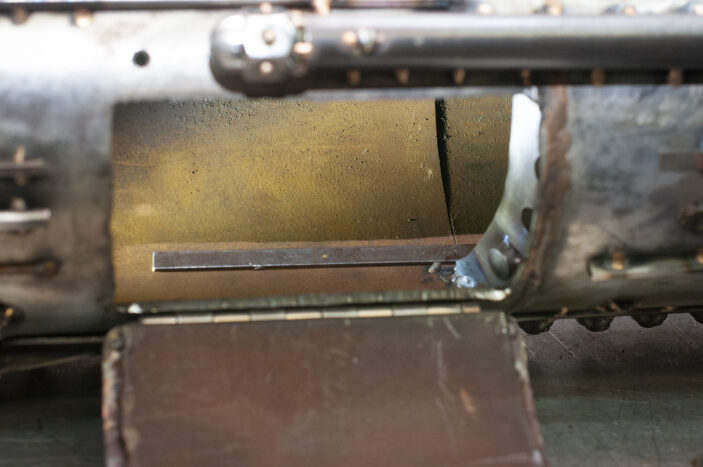
It’s very tricky welding inside the rocketship, so for the harness to attach in the chosen place, I needed to weld it to a longer plate that extends upwards, closer to the hatch, allowing welding access at the top of the plate. Here’s a picture of it tacked in place.
The Explorer’s Home
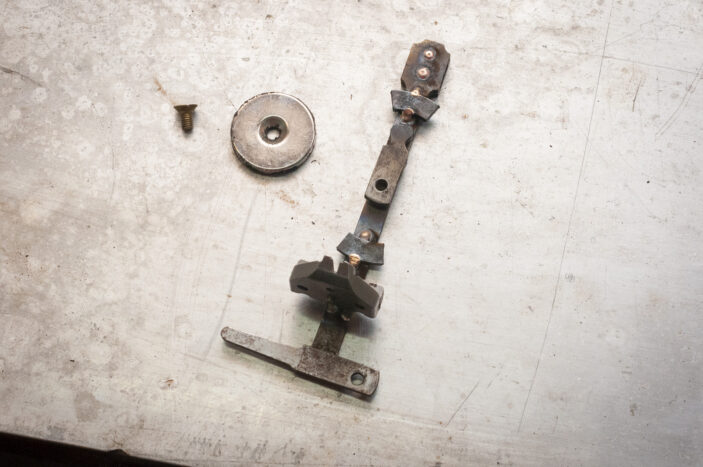
The crew compliment of the SRS Imagination consists of a pilot and an explorer. The pilot stays in the command module, and the explorer can leave the ship. I needed to make a place for the explorer to live in the rocket when he wasn’t out exploring. This is the platform that he’ll stand on. It looks complex, like it’s capable of performing system checks on the spacesuit and communicate with the command module, but it’s just a glorified shelf. There’s a very strong neodymium magnet that can firmly hold the explorer in place. I used a brass flat-head machine screw to attach it to the piece. If you have ever tried to use a tool around a strong magnet, you know what kind of fun it is to have your tool possess a mind of it’s own.
The Last Hole
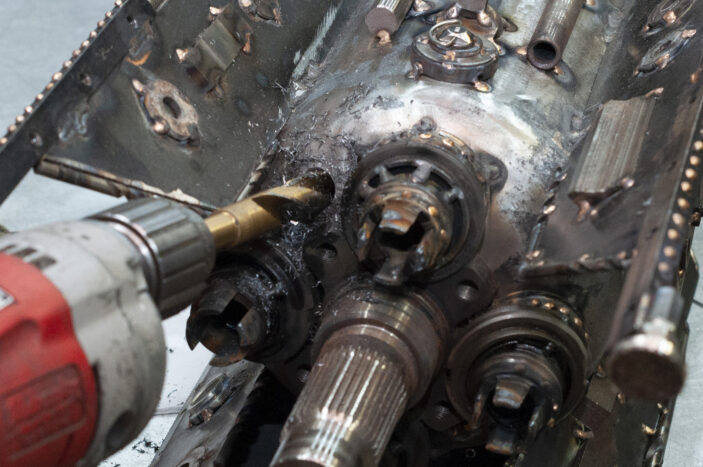
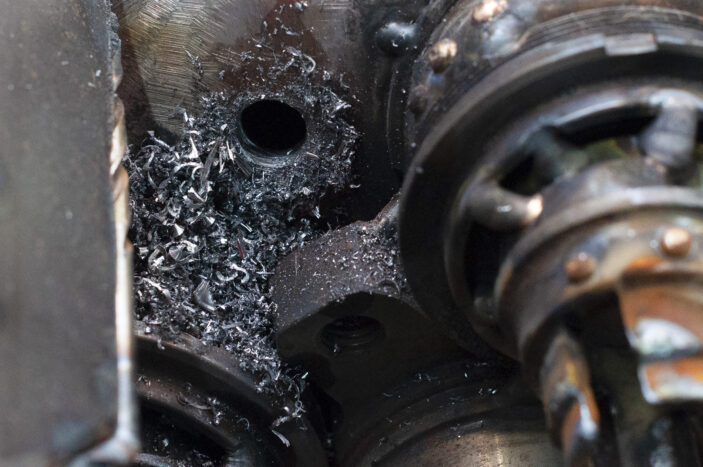
This is the last hole I needed to drill in the fuselage, and it’s a big one: it’s for the cord to plug into AC power. My arms were not happy about drilling this big hole.
Look at all those steel chips!
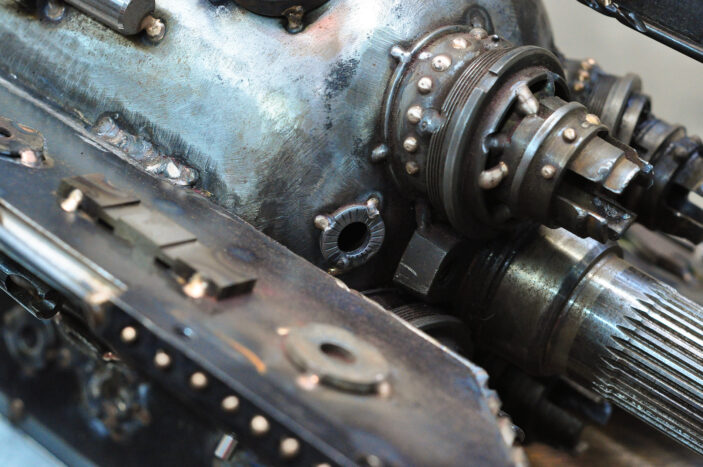
The washer makes it look nice, in case anyone looks.
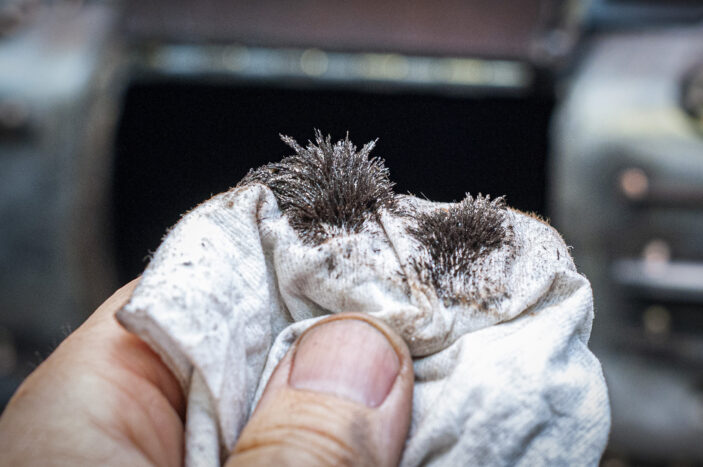
At this point the rocketship weighs in at over eighty pounds, and the inside had a lot of metal shavings and dirt from all the drilling and filing. Needless to say that tipping it sideways and shaking the dirt and chips out isn’t the most feasible plan. Instead I used a strong magnet covered in a rag to pull most of the metal shavings out from the bottom. I then cleaned the insides thoroughly to prep for the clear coat.
Dedication Plaque
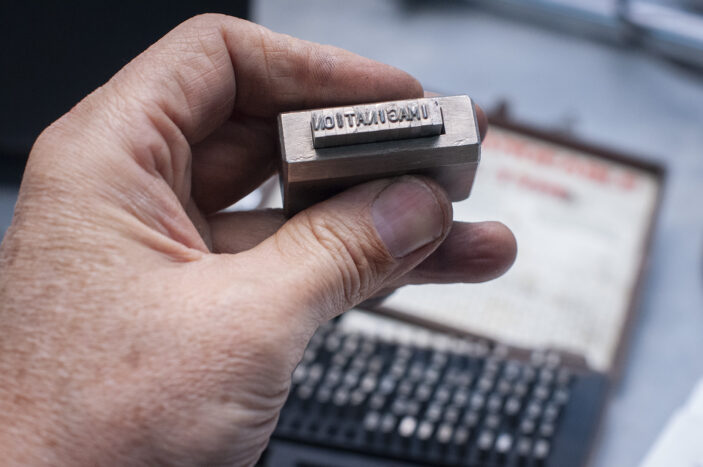
Every starship needs a dedication plaque. All my Astrobots all have them, so while this isn’t exactly new territory for me, I wanted to take it to another level. A few years back a friend of mine donated a letter stamping set which I had been using to stamp ‘SKUNKADELIA’. For this rocketship I decided to use the set to stamp all the letters, as opposed to the individual letter stamping set that I used in the past. There were some missing letters in the fancy set, but I was able to order replacements.
This allows me to punch a bunch of letters all at once, which makes registration a lot more precise.
For my logo, I commissioned a custom ‘signature’ stamp, made by Infinity Stamps. Since I’m very picky about design, there was some thorough conversations before a proof was signed off. The whole process took about three weeks, and they were excellent to work with. The ‘u’ and the ‘n’ in my logo have little dots on the ends, which is supposed to subtly represent old-school u-shaped magnets. I like how the two ‘magnets’ are close to each other and in opposite directions, to imply a certain amount of tension.
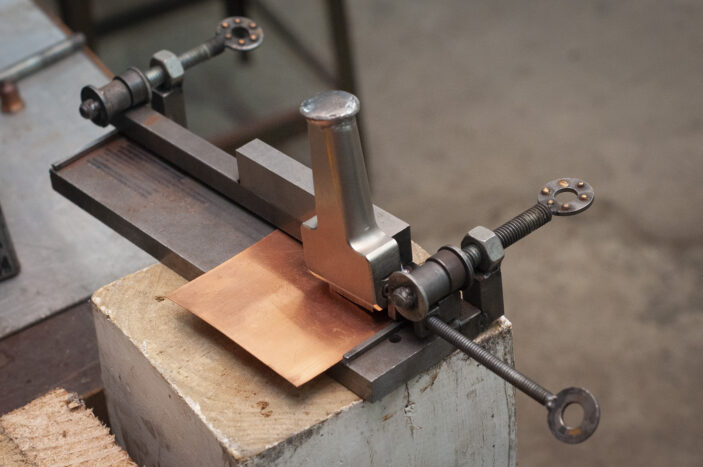
This is my homemade fixture I use for registering the stamps, as viewed from the upper-left hand corner. I turn the bolts a specific number of times to change the line height and spacing – two full turns of the lower bolts to change the line height, and for individual letter stamping, three full turns of the side bolt. Once I started using the fancier stamping set, I had to make some modifications to get the registration tighter. This fixture will continue to evolve as I push my craft levels higher. The more letters that are stamped on a single piece of metal, the more chances a mistake can occur, and therefore the higher the stakes.
Here’s the plaque installed onto the inside of the hatch. I added this as close to the end of the build process as possible, as I consider it to be akin to an artist signing the piece. However in this case, there’s a fair amount of work left to do, but this is as late in the game I could wait, as clear coating needs to happen before the electronics are installed.
Coming up next: the electrical part of the Rocket – a particularly exciting chapter in this epic build.
Related Posts
Constructing a John-Henry Class Rocketship: Stage One
Constructing a John-Henry Class Rocketship: Stage Two
Constructing a John-Henry Class Rocketship: Stage Three

