Living in New England means adapting your schedule to the weather. We’ve had a couple of back-to-back heavy-duty snow storms, and as a result my TIG welding class was postponed. Luckily I have Fang the snow bike: an old Schwinn Cruiser equipped with studded ice tires, a super low gear ratio, a big basket for ballast, and a rear-view mirror which allows me to ride in the more favorable tire track when no one’s behind me.
The Silent Snow
I love when the shop is quiet. It allows me to focus on the task at hand. Snowstorms often keep the shop nearly empty. Since I would have normally been teaching anyway, I like to take on a project that may not be the most pressing, but fulfilling. For this particular night I chose to add an archway to my gallery/studio space.

the best laid plans
I don’t typically sketch anything out when I work. But when it comes to larger pieces that are fitting into existing spaces, it’s necessary to take a few measurements and notes. I keep planning to a minimum in any case.
Going Modular
Welding things together is much easier and faster than drilling holes and bolting. However due to experience, I realize large heavy objects that are to be moved through doorways and ride in the back seats of rental cars need to be modular. The archway comes apart into six separate pieces, held together with grade 5, 3/8″ bolts. I drilled half-inch holes and used high-flange washers to take up any slop in my fit-up. Drilling large holes on a drill press is much less difficult than drilling on a ladder: luckily I only needed to drill four of the sixteen holes the hard way. The hand drill I use is a 1/2″ chuck Milwaukee, dubbed “the mangler” due to it’s unstoppable torque. Fortunately there’s a side handle that can be attached for two-handed operation. Without it, an operator can get slapped hard if the bit get’s caught: an experience I do not wish to repeat, especially on top of a ladder.
Where’s the Setback?
Anyone who’s built anything from scratch will attest to the rarity of a project without setbacks. Constructing this arch was particularly fulfilling because it completely lacked rework. Not one mistake, not one wrong cut, misplaced hole, out-of-tolerance weld: no un-doing of anything and no head-scratching. By the end of the night all the structural elements were complete and installed.
Now for the FUN part
Two days later my head was full of inspiration and ideas, and I finally had a big enough chunk of time to get back into the project. Since the overhaul of my studio space and the transformation into half gallery space, I’ve had to haul all the large metal pieces home via bike trailer. Building the arch required me to move the larger pieces back from my basement. My front basket had about 100 pounds in it: I was going to weigh the canvas duffel bag to see if I had set any personal record for hauling without a trailer, but I was unable to lift the bag out, so the 100 pounds is an estimate. While most of the pieces I hauled weren’t used, it was nice to have them on hand to see what kind of options were available.
Variations of a Theme

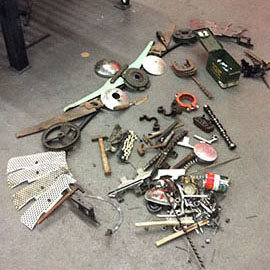
the first iteration lacked cohesion

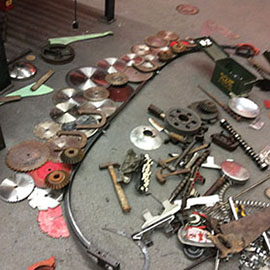
spent circular saws are in abundence

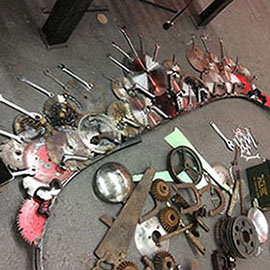
cast iron bicycle stems and old wrenches add to the majesty
I typically don’t work non-objectively: in other words, I’m usually attempting to create an object that resembles something — like a figure, or a prop. Assembling the arch could be considered more play than work. Making large pieces like this also allows me to use up a lot of heavy inventory.
And Now for My Grand Entrance

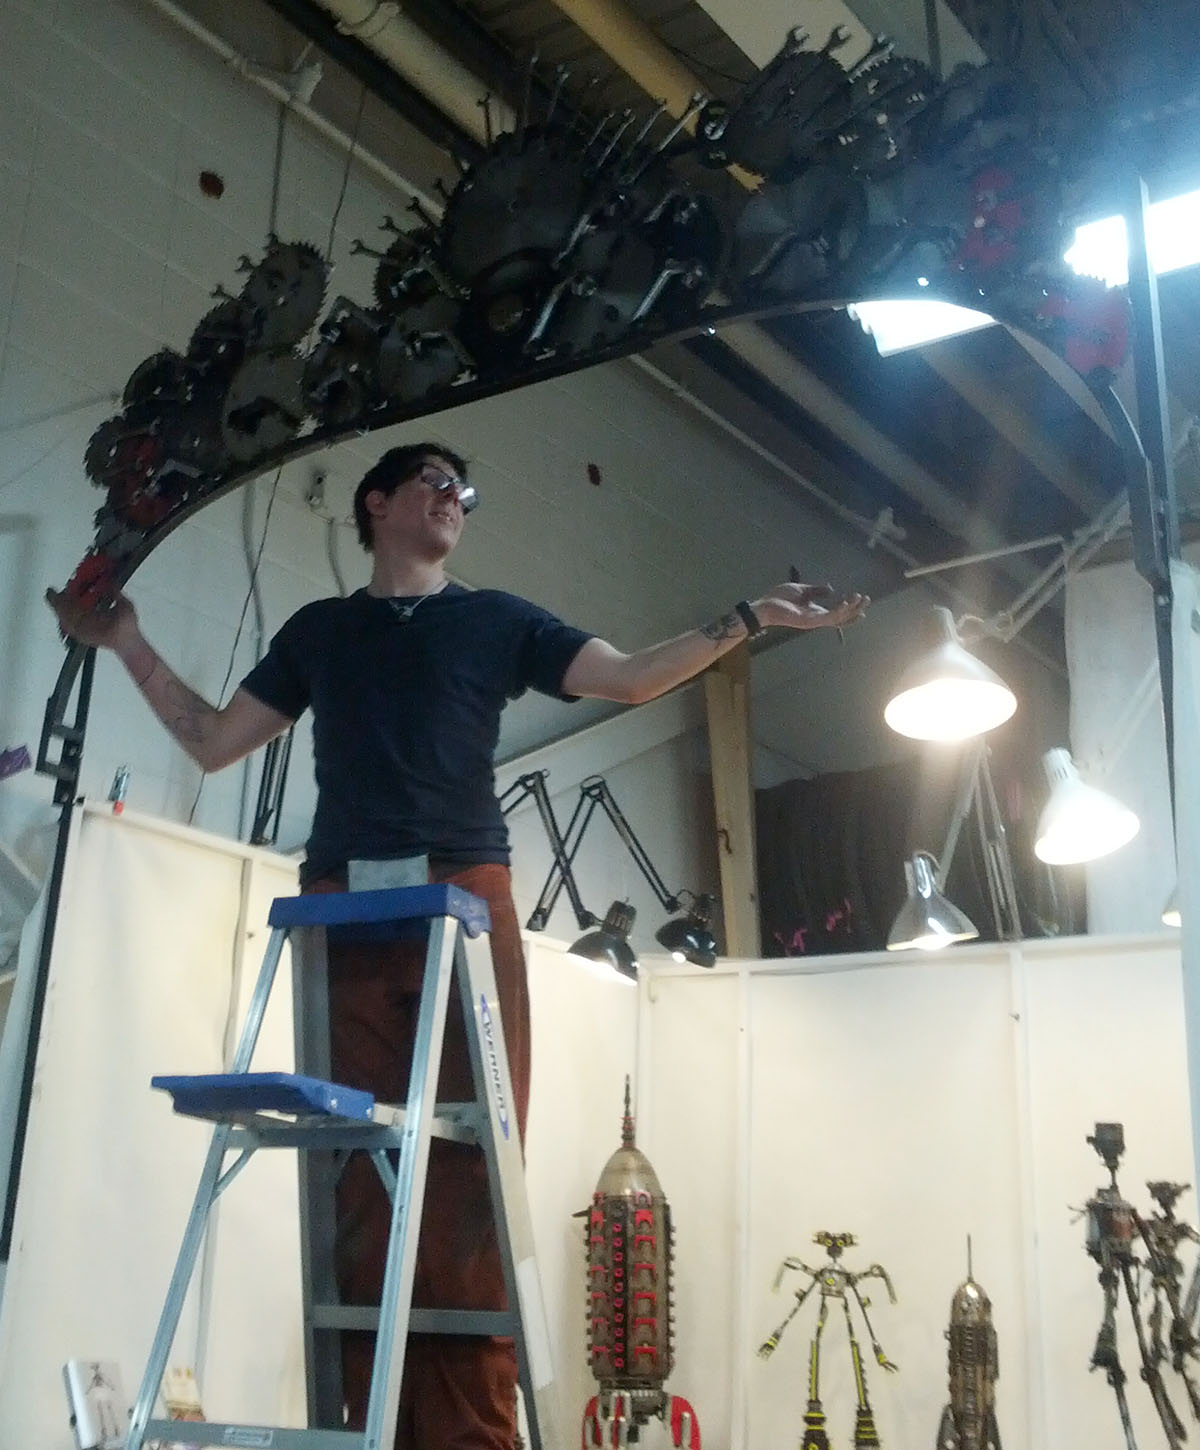
I’m glad I decided to construct the arch in three pieces, otherwise things could get precarious! Photo: Cira Louise Brown
By the end of day two, I had the arch installed. I was happy to have the piece noticed, since it’s so high up I was afraid it would go unnoticed.
Next step: curtains!
Related
External Links
The Ready Room Microgallery